
The result is usually one of two problems: harsh glare from unshielded bulbs, or a scattering of lights that don't add up to anything cohesive. Getting it right requires understanding how professionals actually approach the work.
This guide covers the design principles, fixture choices, and creative techniques that separate a professional landscape lighting plan from a DIY guessing game, drawing on more than 12 years of hands-on design experience across Florida properties from LED Artistry.
Key Takeaways
- Layering ambient, task, and accent light creates depth; single-fixture setups look flat
- Path lights typically need 6-10 feet of spacing, adjusted for beam spread and terrain
- Low-voltage LED systems remain the safety and efficiency standard for humid coastal climates
- Marine-grade brass, copper, and aluminum resist Florida's salt air far better than standard fixtures
- Professional nighttime demos catch placement issues before installation locks them in
Understanding the Basics of Landscape Lighting Design
Layers of Light: Ambient, Task, and Accent
Professional lighting design builds on three distinct layers rather than scattering fixtures until the yard looks "lit up," as CAST Lighting defines them:
- Ambient light provides overall illumination for the setting, the general glow across a patio or lawn
- Task light serves a specific function, like guiding footsteps along a walkway or lighting steps
- Accent light highlights a specific feature: a mature oak, a coral stone wall, a fountain
Skip one layer and the design feels incomplete. A yard with only task lighting looks utilitarian. One with only accent lighting leaves walkways dark and unsafe. All three together make the landscape look intentional, not randomly lit.

Low-Voltage Systems for Florida Properties
Low-voltage (12V) LED systems are the industry standard for outdoor work. UL evaluates them under UL 1838 and UL 2108 and confirms that power units limited to 15 Vac or 30 Vdc present no shock risk even in wet conditions.
That margin matters in Florida, where sprinklers, rain, and pool decks are constant realities.
Energy use is just as clear. LEDs match older bulbs for brightness while using about 90% less energy, because incandescent sources waste most of their energy as heat. In Tampa Bay humidity and salt air, that lower heat output also puts less stress on fixture seals and gaskets over time.
Essential Design Tips for a Professional-Looking Landscape Lighting Plan
Evaluate the Property After Dark
Daytime walkthroughs miss half the picture. Shadows, architectural textures, and tree silhouettes only show up as light fades. Start with an on-site evaluation at dusk and note:
- Architectural features worth highlighting (columns, gables, stone accents)
- Mature trees and palms that read as natural focal points
- Functional zones: walkways, patios, pool cages, and entries
Fixture placement set in daylight almost always needs a second pass after sunset. A spotlight that looked right at 2 p.m. can miss its target by 9 p.m. Pros return after dark for aiming and brightness tweaks instead of calling the job done at install.
Get Spacing and Layering Right
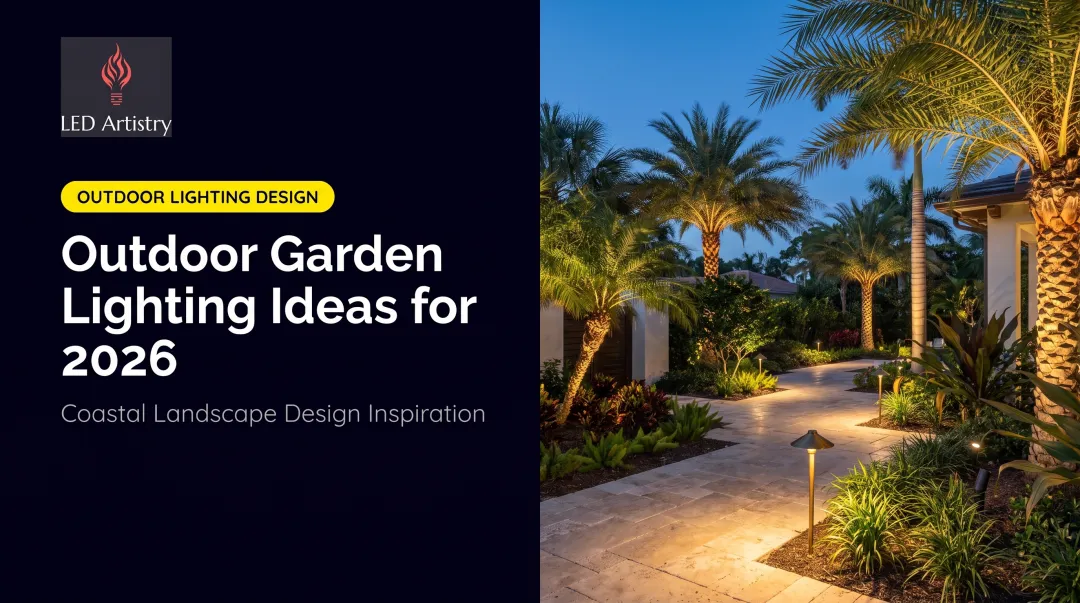
Path light spacing drives how natural the walk feels. Kichler recommends 10-14 feet between path lights as a general benchmark, though ideal spacing still depends on beam spread, mounting height, and lumen output.
Residential walkways often look better a bit tighter:
- 6-8 feet for narrower-beam fixtures on straight paths
- 8-10 feet for wider-beam fixtures
- Closer spacing near curves, stairs, and grade changes where shadows create trip hazards
A perfectly straight, evenly spaced row creates the "runway effect": a sterile, commercial look instead of soft pools of light. Stagger fixtures on alternating sides to avoid it.

Focused spotlights on a single tree look dramatic on their own. Pair them with softer wash light across a facade and you get depth instead of a flat wall of brightness. Use spots on focal points such as specimen trees, columns, and entries; use washes to fill the gaps so the eye moves cleanly across the property.
Common Mistakes to Avoid
Weak installs tend to share the same problems:
- Too much brightness erases depth and creates glare instead of atmosphere
- Inconsistent spacing leaves bright hot spots and dark gaps
- One fixture type on every tree, wall, and roofline removes true focal points
- Fixtures aimed into windows or seating areas throw harsh, unshielded glare
Landscape lighting is more than curb appeal. The National Association of REALTORS' 2023 Remodeling Impact Report estimates a 59% cost recovery on landscape lighting projects, with a Joy Score of 10 out of 10 among homeowners, among the highest satisfaction ratings for outdoor improvements. That figure is a modeled national benchmark, not a resale guarantee, but it shows how strongly owners value a well-designed result.
Creative Landscape Lighting Design Ideas
Once the fundamentals are in place, design gets interesting. These techniques push a solid lighting plan from useful to memorable:
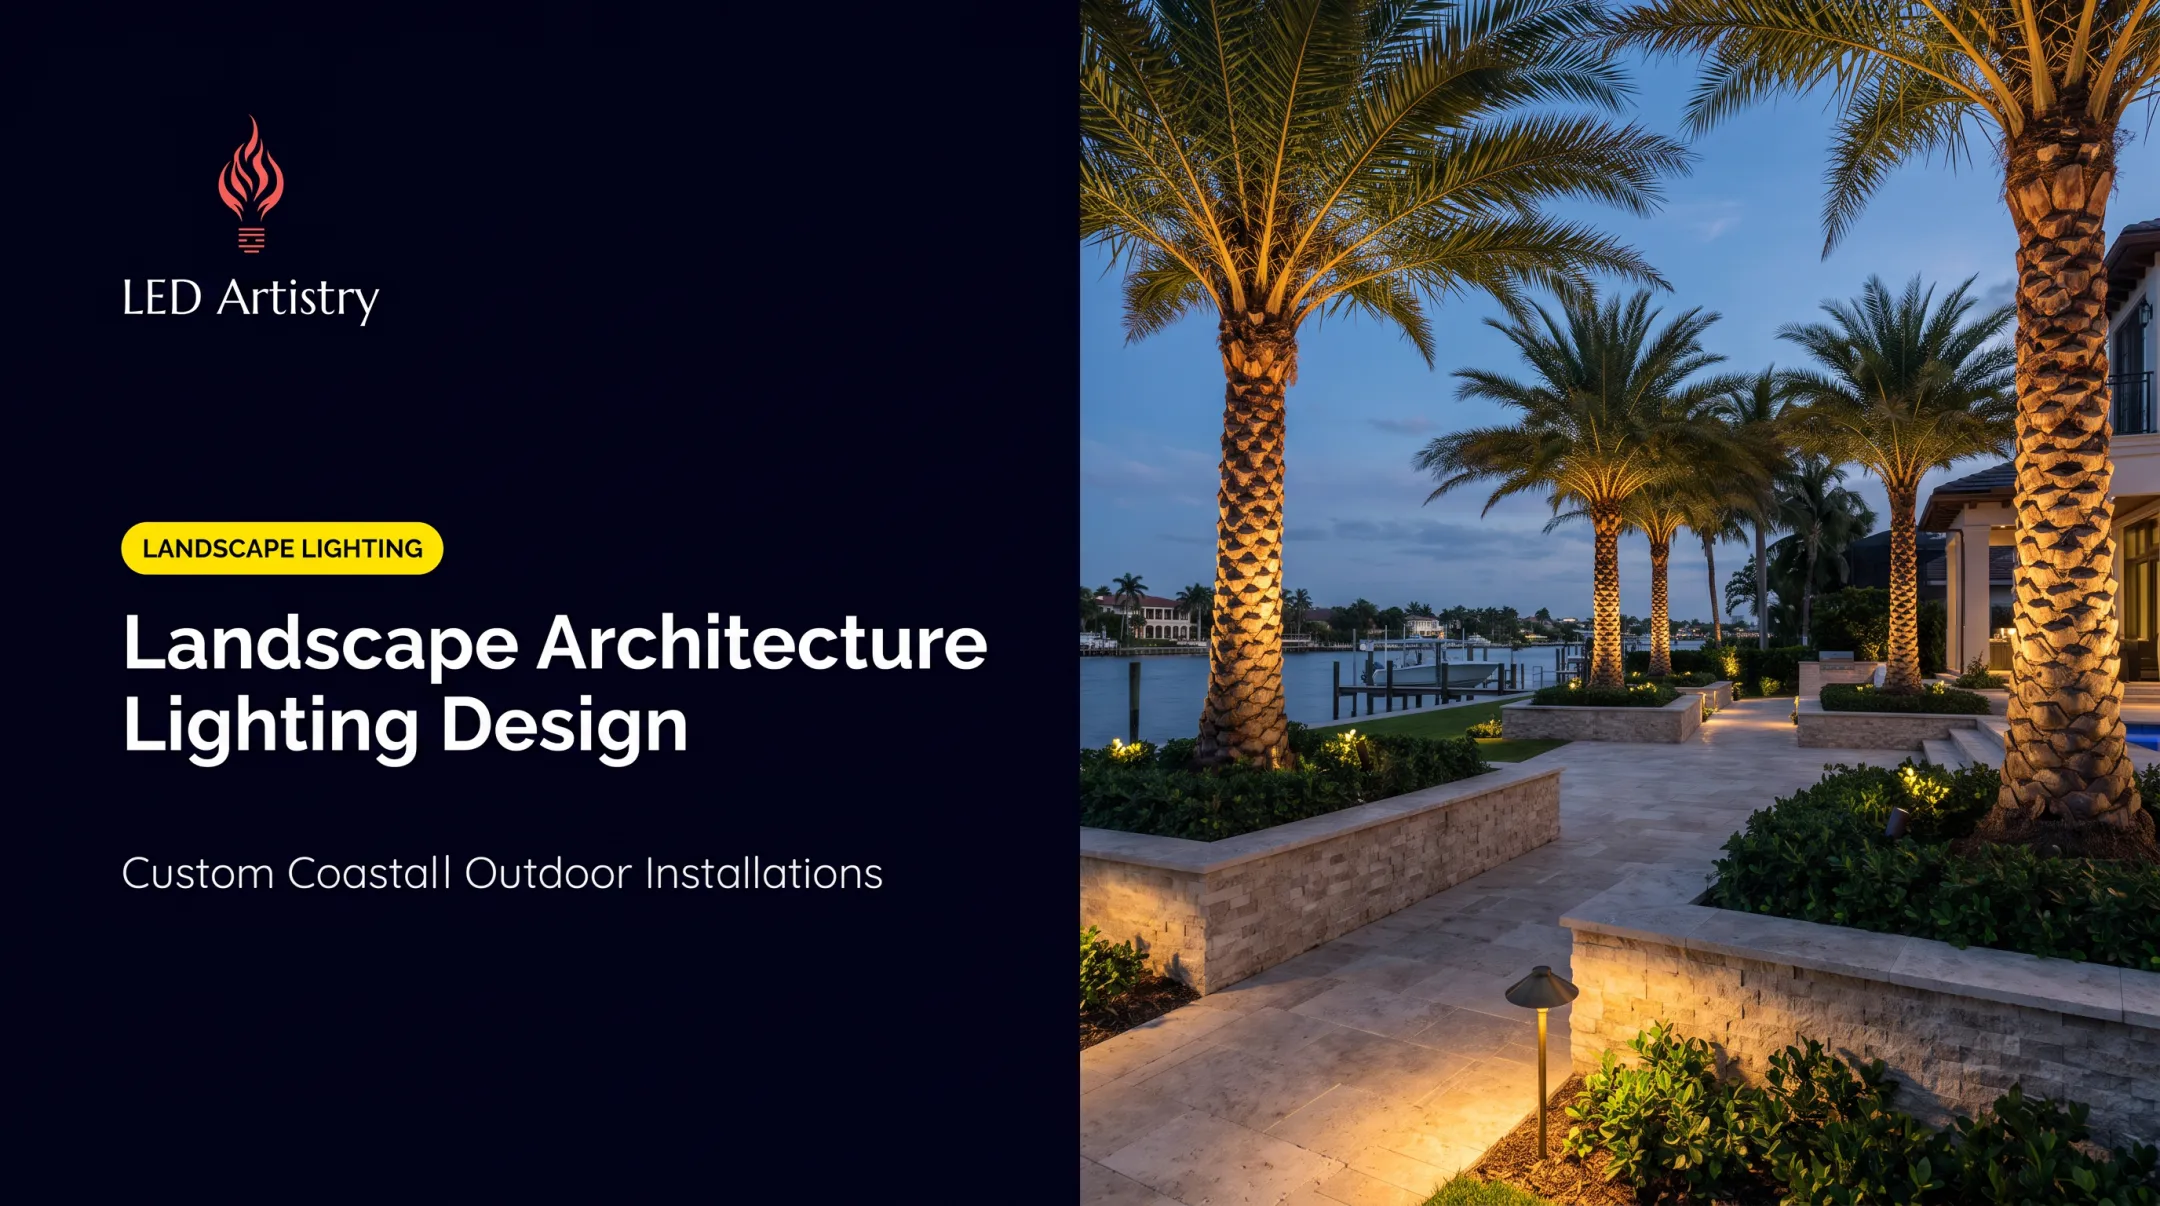
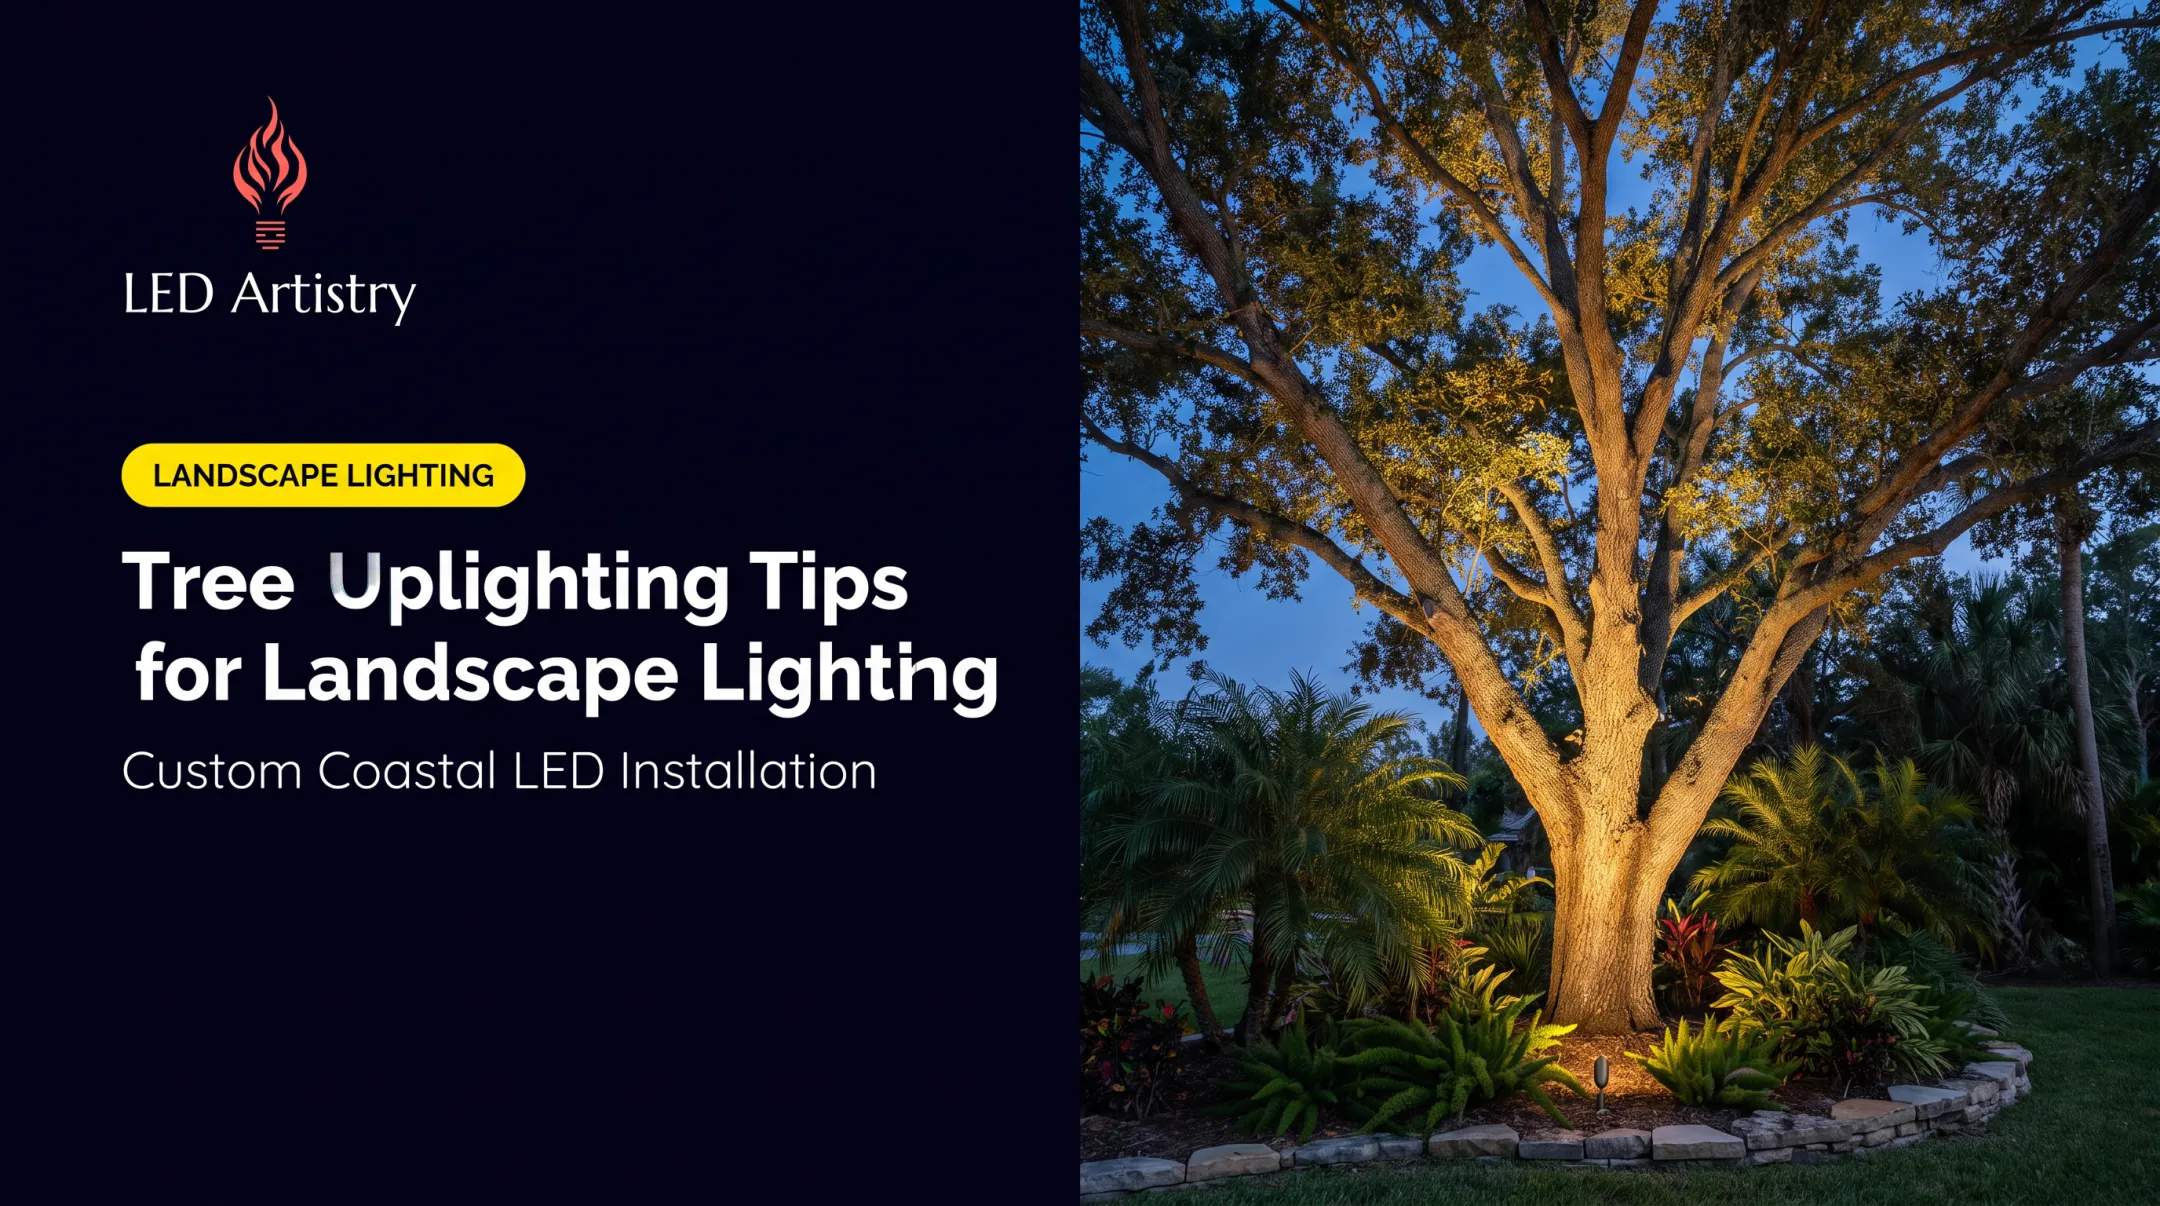
- Uplight mature trees and palms from the base to cast shadow-play and depth against the night sky
- Graze coral stone, stucco, and retaining walls so light rakes across the texture at a shallow angle
- Spec piling caps, cleat lights, and seawall fixtures in marine-grade brass or 316 stainless for docks that face constant salt exposure
- Layer color-changing or warm-white LEDs on outdoor kitchens and patios instead of relying on separate string lights
- Downlight from trees or eaves to mimic moonlight on the lawn when you want a softer look than direct uplighting
For waterfront properties near sensitive habitats, amber LEDs in the 590nm range are worth considering, since they align with Florida's sea turtle protection guidelines while still providing usable dock illumination.
Choosing the Right Fixtures and Bulbs
LED vs. Halogen
LEDs win this comparison on nearly every measure that matters long-term. Halogen lamps run hotter, draw more power, and typically last only 2,000–4,000 hours before burnout.
The U.S. Department of Energy states that good-quality white LEDs deliver a useful life of 30,000 to 50,000 hours or longer, defined by the point where output drops 30% rather than sudden failure. Paired with the 90% energy savings noted earlier, that longevity shows up in day-to-day ownership:
- Lower operating cost from reduced wattage
- Far fewer bulb-replacement visits over the life of the system
- Cooler-running fixtures that are safer near plants and woodwork
Material Matters in Coastal Air
Fixture material determines how long a system survives Tampa Bay's salt-heavy environment:
| Material | Coastal Performance |
|---|---|
| Solid brass | Forms a protective patina; excellent for long-term coastal use |
| Copper | Ages gracefully; complements traditional Florida architecture |
| Marine-grade aluminum | Suitable when properly finished and rated for coastal exposure |
| Standard aluminum | Prone to pitting and coating failure within 3-5 years near saltwater |

Kichler identifies properties within 10 miles of water as a highly corrosive zone where standard finishes deteriorate faster. That zone covers most of Tampa Bay.
Color Temperature
Warm-white light in the 2,700K–3,000K range looks natural and inviting against brown or cedar tones, stonework, and foliage. Cooler light tends to make landscapes look sterile and washes out the warmth of Florida's stucco and coral stone exteriors.
Why Work With a Professional Lighting Designer
DIY installs frequently underestimate wiring math. Transformer sizing, voltage drop across long runs, and wire gauge selection aren't guesswork. They follow calculable formulas, and getting them wrong means lights that start bright and fade toward the end of a run.
A professional designer prevents those failures with a scoped process. LED Artistry's typically runs like this:
- Discovery consultation: Discuss goals, budget, and practical concerns like safety and wayfinding
- On-site walkthrough: Assess architecture, landscape features, and technical needs such as existing electrical capacity
- Complimentary nighttime demonstration: Place and adjust temporary fixtures in real time so clients see the effect before committing
- Custom design and proposal: Deliver a transparent quote matched to the property and budget
- Professional installation: Install with buried conduit, voltage-drop management, and zone dimming
- Ongoing service support: Maintain performance for years, backed by a 20-year warranty

Owner Cory Glenn has led this process personally for more than 12 years. As one client, Ronald Clark, put it, the completed lighting gave his home illumination "a new meaning" and was the "best bang for your buck."
Maintaining Your Landscape Lighting System
A lighting system isn't a set-it-and-forget-it purchase. Landscaping grows, connections corrode, and fixtures shift out of aim over time.
Routine maintenance should include:
- Cleaning calcium and hard-water deposits from lenses (clouded lenses can cut light output by up to 40%)
- Re-aiming fixtures as trees and shrubs grow
- Testing voltage at each fixture to confirm it stays within the optimal range
- Replacing failing fixtures or drivers before they stress the transformer
Common troubleshooting issues in coastal installs:
- Flickering: often a failing transformer or moisture in a splice
- Dimming: usually voltage drop from long runs, undersized wire, or corroded connections
- Corrosion: salt air oxidizing connections, sometimes called "black-wire syndrome"
Sealed, waterproof connectors and marine-grade materials prevent most of these issues before they start. LED Artistry’s maintenance visits every 6–12 months catch problems early, before a single failed connection cascades into a full section going dark.
Frequently Asked Questions
What are some tips for designing landscape lighting?
Walk the property at dusk to spot architectural features and shadows, layer ambient, task, and accent lighting together, and space path lights thoughtfully (typically 6-10 feet apart) to avoid a "runway" look.
What are some creative design ideas for landscape lighting?
Uplighting mature trees and palms, wall-washing textured surfaces like coral stone or stucco, and lighting docks and seawalls with marine-grade fixtures all create standout results without overdoing it.
How much does professional landscape lighting design cost?
Costs vary based on property size, fixture count and type, and installation complexity like pool cages or waterfront exposure. A free consultation and nighttime demo give the most accurate quote for your property.
Is low-voltage lighting safe for DIY installation?
Low-voltage systems are generally safer than line-voltage electrical work, since UL-rated power units present no shock risk even in wet conditions. That said, complex designs with long runs and voltage drop calculations still benefit from professional expertise.
How long do LED landscape lighting fixtures last?
Good-quality LEDs typically last 30,000 to 50,000 hours or longer, defined by gradual light output decline rather than sudden burnout, far exceeding older halogen bulb lifespans.
Can landscape lighting withstand Florida's coastal climate?
Yes, but only with the right materials. Marine-grade brass, copper, and properly finished aluminum resist the corrosion that standard aluminum and basic wire connectors suffer within a few years near saltwater.