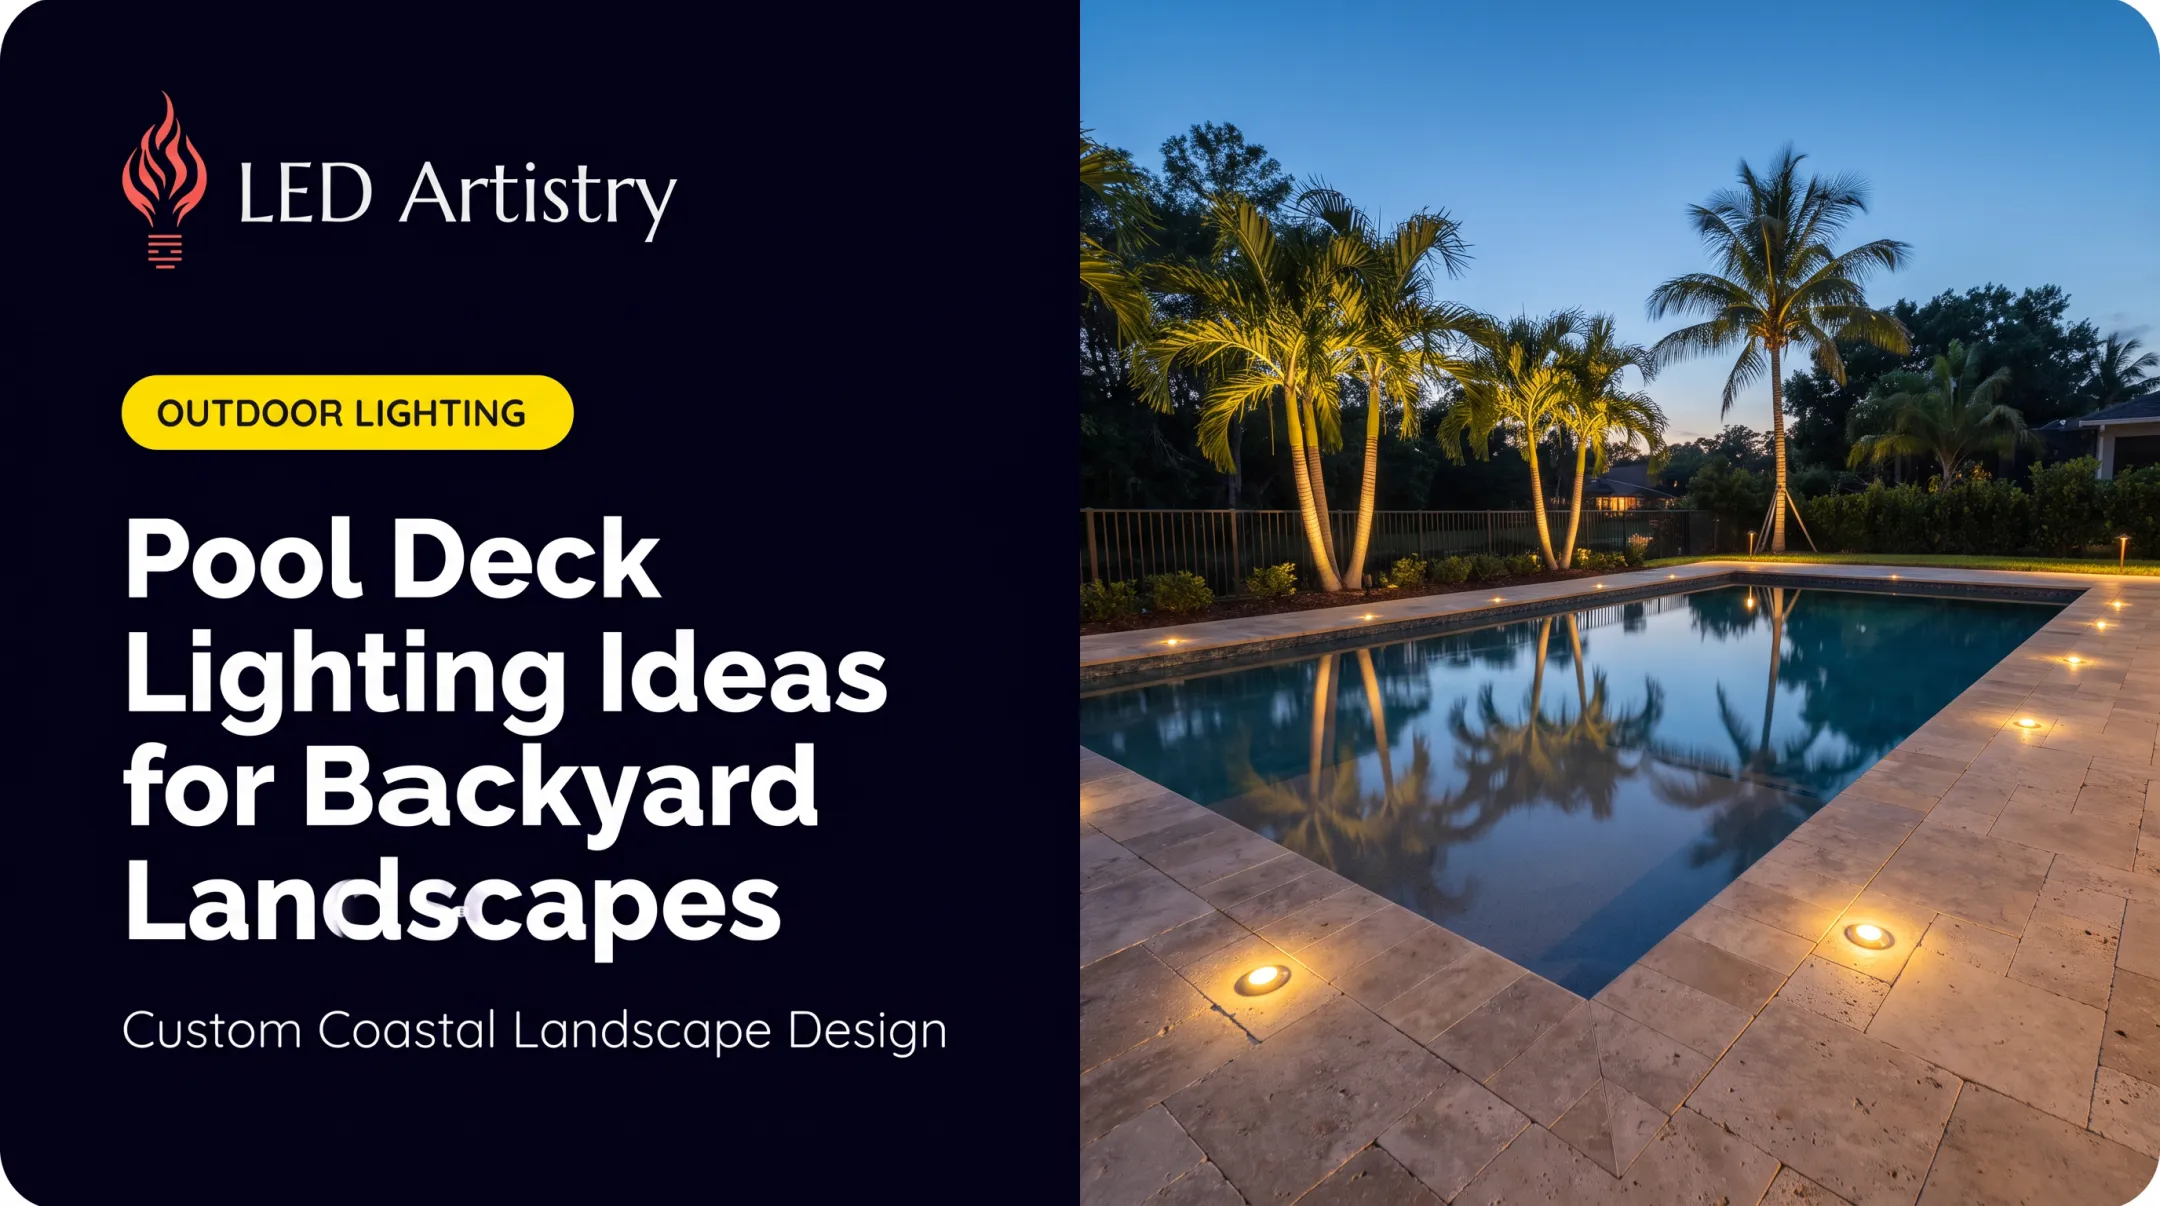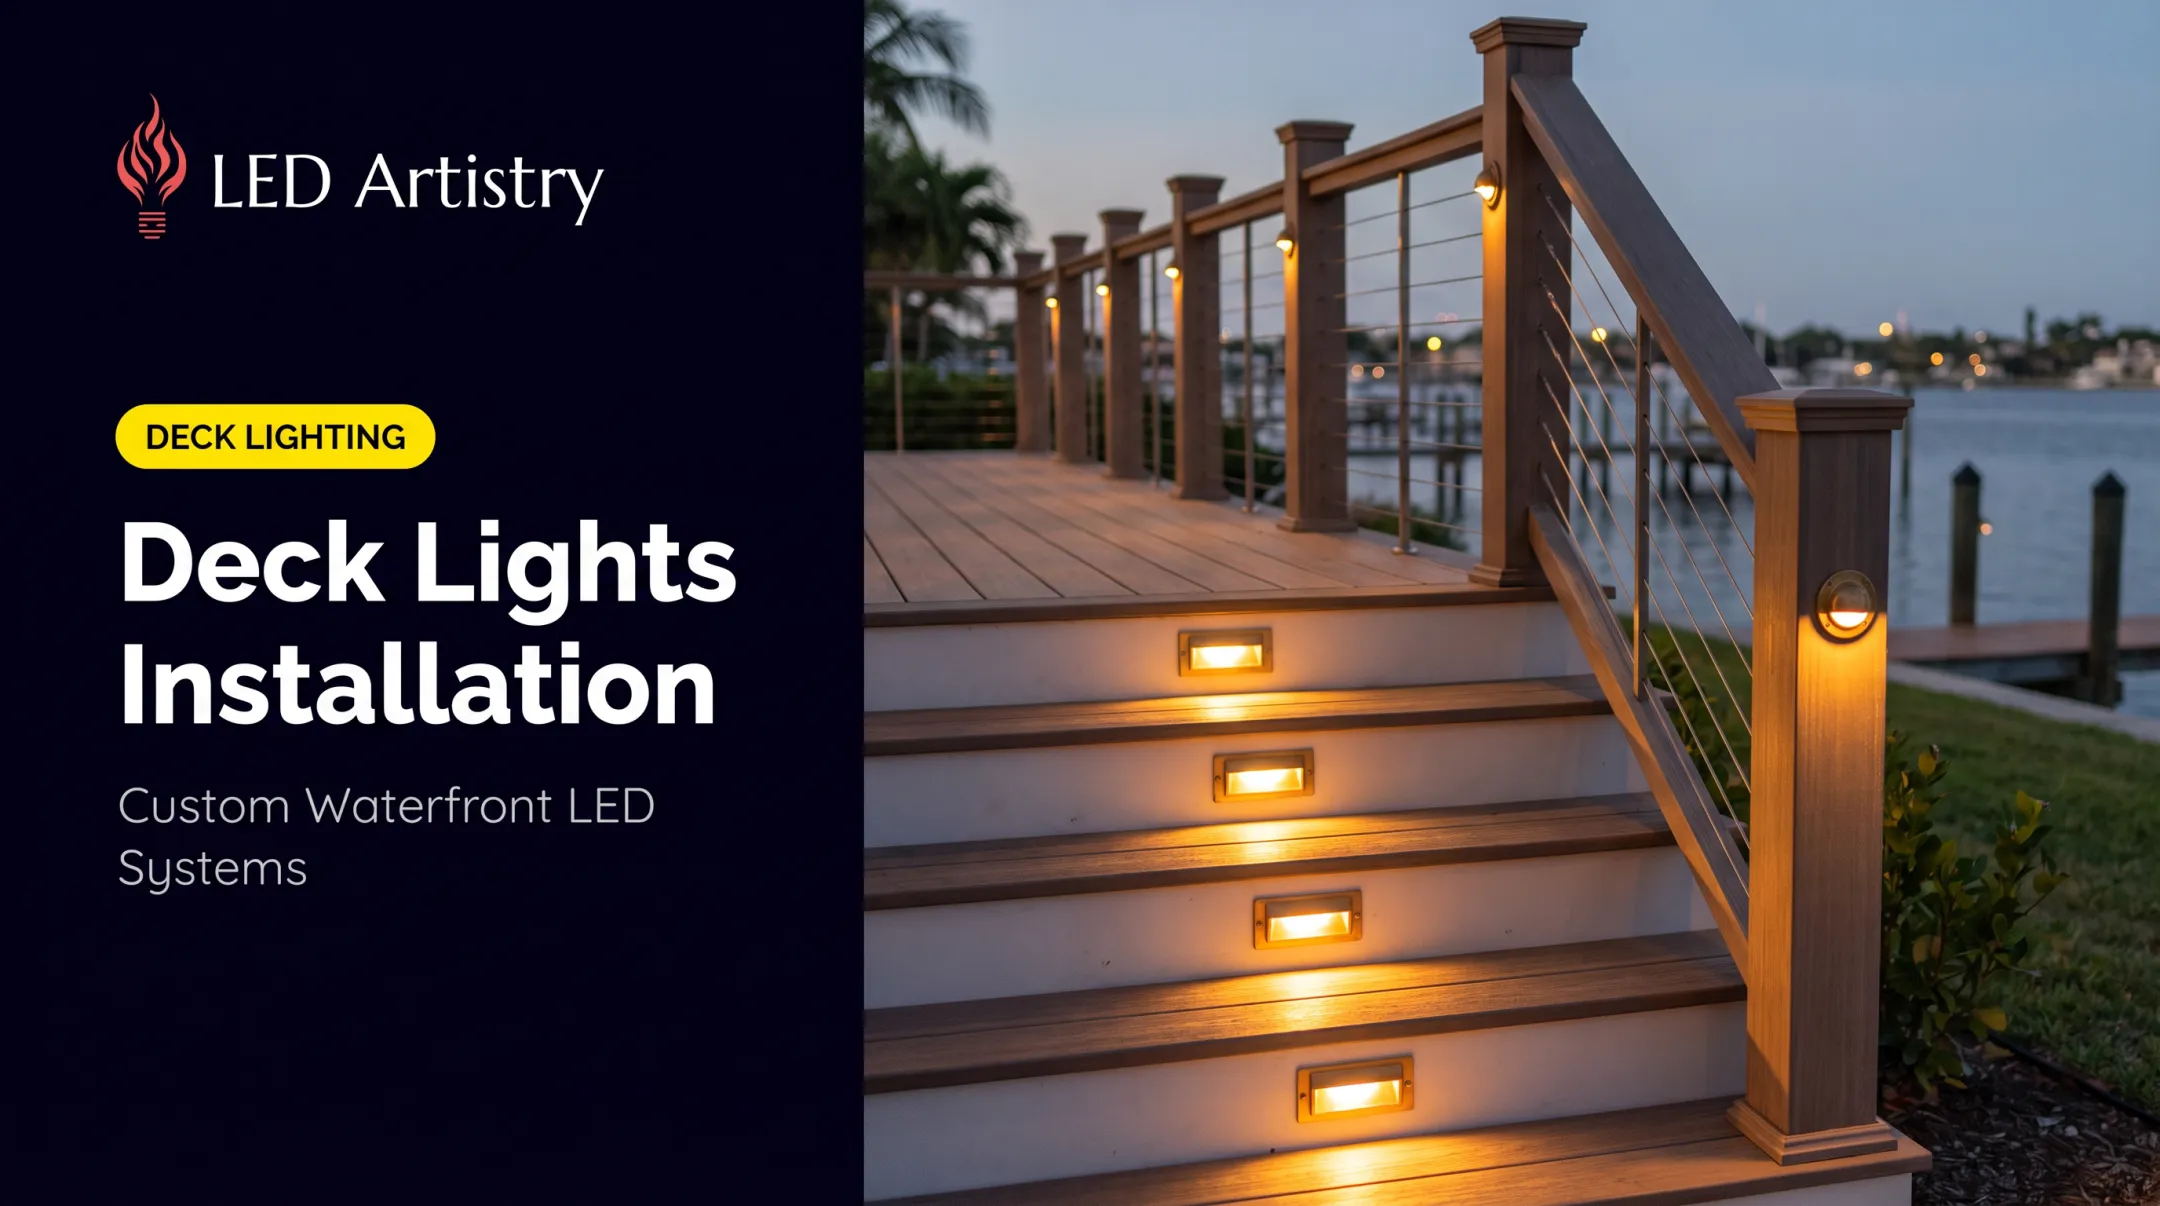

Poor installation shows up in predictable ways: dim fixtures at the end of a run, exposed wire that becomes a tripping or shock hazard, corroded connectors after one rainy season, and warranties that get voided the moment a non-waterproof splice fails. Florida's humidity and coastal air make these risks worse than almost anywhere else in the country.
This guide walks through the full process — planning, equipment, wiring, burial, testing, and troubleshooting — with specific attention to what changes when you're installing near the coast.
TL;DR
- 12V systems are safer and simpler than line voltage; no electrician required for most standard installs
- Transformer size, wire gauge, and layered fixture placement decide whether the system stays bright and reliable
- Process: plan layout → mount transformer → wire and connect → bury cable → test at night
- Most failures trace to overloaded transformers and unsealed connectors
- In coastal Florida, humidity and salt air make sealed connections and pro install worth it on waterfront jobs
Installation Guide for Low Voltage Landscape Lighting
The full process breaks into five phases:
- Planning your layout
- Selecting equipment
- Wiring and connecting fixtures
- Burying cable
- Testing and adjusting at night

A basic front-yard project (a dozen path lights and a small transformer) can realistically be done in a weekend. Larger properties, whole-home systems, or waterfront and dock lighting are a different story. Those often stretch across multiple days and call for professional-grade equipment, especially once you're calculating voltage drop across long cable runs.
Prerequisites and Safety Considerations
Before you dig anything, map your site:
- Locate existing irrigation lines and buried utilities
- Identify GFCI-protected outdoor outlets (required for transformer power in most jurisdictions)
- Assess soil type: sandy Florida soil trenches differently than compacted clay
Check equipment compatibility next. Total fixture wattage must stay under transformer capacity, and wire gauge has to match your total run length. A 12-gauge cable rated for 160 watts at 0-40 feet drops to just 60 watts at 120-160 feet, according to FX Luminaire's cable load specifications.

Florida-specific non-negotiables:
- Never run line voltage (120V) without a licensed electrician
- Follow Florida DBPR licensing rules for low-voltage work unless you use an unmodified factory cord-and-plug product (state electrical contractor FAQ)
- Never skip waterproof, direct-burial-rated connectors near the coast
- Protect every waterfront circuit with GFCI
- Near nesting beaches, follow FWC sea turtle rules: low, fully shielded, long-wavelength (560nm+, amber or red) fixtures in season
Tools and Parts Required
A short parts list covers most residential low-voltage installs. Get these on hand before you trench or mount anything.
Essential parts:
- Transformer (sized to total fixture load plus buffer)
- Low-voltage direct-burial cable (12/2 or 14/2 gauge)
- LED fixtures (path, spot, well lights depending on layout)
- Stakes or mounting hardware
- Waterproof, gel-filled wire connectors
Key tools:
- Wire strippers
- Shovel or trenching edger
- Screwdriver
- Digital voltage tester
Some choices can flex: wire gauge (12 vs. 14) depends on run length, and fixture style is mostly aesthetic. What's not negotiable: transformer wattage must exceed total load, and waterproof, gel-filled connectors are mandatory—especially in humid or coastal climates like Florida's. Cutting corners here is where most failures start.
How to Install Low Voltage Landscape Lighting (Step-by-Step)
Skipping steps, like burying cable too shallow or undersizing a transformer to save money, doesn't cause immediate problems. Failures show up six months later, usually after the first heavy rain.
Plan your layout above ground first. Lay fixtures and cable out on the surface before digging anything. This lets you visualize spacing and catch design mistakes for free.
Mount the transformer correctly. Place it near a GFCI outlet, at least 12 inches above ground, and shielded from direct weather. Kichler recommends keeping it within 8 feet of the outlet and at least 10 feet from any pool or pond.
Connect fixtures with waterproof connectors. Start with the fixture furthest from the transformer and work back. This order helps you catch voltage drop issues early.
Bury the cable in a shallow trench. Aim for 3–6 inches deep. Watch for plant roots and irrigation lines as you go; hitting either means starting that section over.
Test in daylight, then adjust at night. Daytime testing confirms every fixture works. Nighttime adjustment is where you fix glare, hot spots, and awkward spacing. This step can't be skipped or faked.

Follow the sequence in order. Most callbacks come from rushed trenching, weak connections, or a transformer that was never sized for the full run.
Post-Installation Checks and Validation
Once fixtures are in the ground, run through three categories of checks.
Visual and structural:
- Fixtures are securely staked and won't shift in wind or foot traffic
- Wires are fully buried, not exposed at the surface
- Every connector is sealed against moisture
Functional:
- Brightness is consistent across all fixtures; inconsistency signals voltage drop or a sizing error
- No flickering under normal load
- Timers, photocells, or smart controls switch each zone as designed
Nighttime walkthrough:
- Check glare, hot spots, and dark gaps after dark
- Confirm fixture aim on trees, walls, and paths before backfill
Skipping the nighttime check is the single most common mistake homeowners make. Glare, uneven brightness, and misaimed fixtures are nearly invisible during the day. They become obvious, and often permanent, once you've backfilled the trench and moved on.
Common Installation Problems and Fixes
Issue 1: Dim or Flickering Lights at the End of a Run
Problem: Fixtures farthest from the transformer are noticeably dimmer than those near it.
Cause: Voltage drop from a long cable run or undersized wire gauge. Daisy-chaining is the least efficient wiring method—each fixture down the line receives progressively less voltage.
Fix: Switch to a T-method or hub layout that center-feeds the run, or upgrade to a thicker gauge wire.
LED Artistry's installers typically split larger properties across multiple home-run circuits rather than one long chain, keeping the furthest fixture between 10.5V and 12V.
Issue 2: Corroded or Failed Connections
Problem: Lights stop working weeks or months after installation, especially in humid or coastal areas.
Cause: Non-waterproof connectors, or improper sealing that lets moisture in over time.
Fix: Use direct-burial-rated, gel-filled connectors. King Innovation's connectors, for example, use a dielectric silicone fill that surrounds the splice and resists both water and corrosion. For waterfront Florida properties, marine-grade fixtures with IP67 ratings add another layer of protection.

Issue 3: Overloaded Transformer
Problem: The entire system flickers or shuts off intermittently.
Cause: Total fixture wattage exceeds transformer capacity.
Fix: Recalculate total wattage across all fixtures and upgrade to a transformer sized with 20-30% extra capacity for future expansion. Don't size a transformer to exactly match today's fixture count. You'll be replacing it the moment you add three more spotlights.
Pro Tips for Installing Landscape Lighting Effectively
A few habits separate a clean, lasting install from one that needs rework later.
- Do a nighttime demo before finalizing. Fixtures look different after dark at real beam angles, and daytime layouts miss glare and dark spots. LED Artistry offers complimentary on-site demos for Tampa Bay clients with temporary fixtures you can adjust before committing.
- Layer your fixture types. Path lights, spotlights, and hardscape lighting together build depth. One fixture type alone usually looks flat and one-note.
- Document wiring layout and transformer settings. You or a tech will need that map when troubleshooting years later.
- Use a specialist for waterfront, dock, or pool cage work. Marine-grade materials and code compliance are required near water, and mistakes cost more than in a front yard.
Conclusion
Installation quality determines everything downstream: how bright your lights stay, how long connectors last, and whether you're troubleshooting flickering fixtures next summer. In Florida's humidity and salt air, that gap is real. A well-built system can last a decade; a rushed one often fails within a year.
Plan carefully, size your equipment correctly, and never skip the nighttime walkthrough. If your project involves a waterfront property, a dock, or a full-property system, talk with a local specialist.
LED Artistry offers a free nighttime demo for Tampa Bay properties, plus a 20-year warranty and ongoing support after installation.
Frequently Asked Questions
What is the average cost to install landscape lighting?
Professional install cost depends on fixture count, transformer size, and design complexity, from smaller path runs to full-property systems. DIY materials for a basic setup often fall between $100–$600. A site-specific quote is the only accurate number.
Do you need an electrician to install landscape lighting?
Low-voltage (12V) systems typically don't require a licensed electrician for basic DIY setups. Line-voltage (120V) work always requires a licensed electrician, and some Florida jurisdictions require licensing for low-voltage work too.
What is the most effective way to illuminate a driveway?
Staggered path lights or in-ground well lights spaced evenly along both sides work best. Staggering (rather than mirroring) fixtures creates a more natural look and reduces glare for drivers.
How do pathway lights work?
Pathway lights run on a low-voltage circuit connected to a transformer, which steps down household power to 12V. They cast light downward to guide foot traffic safely without creating glare.
What are the basic rules of thumb for landscape lighting placement?
Layer your lighting: combine uplighting, path lighting, and accent lighting rather than relying on one type. Avoid evenly spacing every fixture in a straight line, which creates a harsh "runway" effect.
How far apart should landscape pathway lights be?
Spacing typically ranges from 8-14 feet depending on fixture beam spread and desired effect: tighter for continuous illumination, wider for distinct pools of light. Mock up the spacing at night before finalizing placement.